












Blog
Welding Rework Reduction Starts Before the Arc
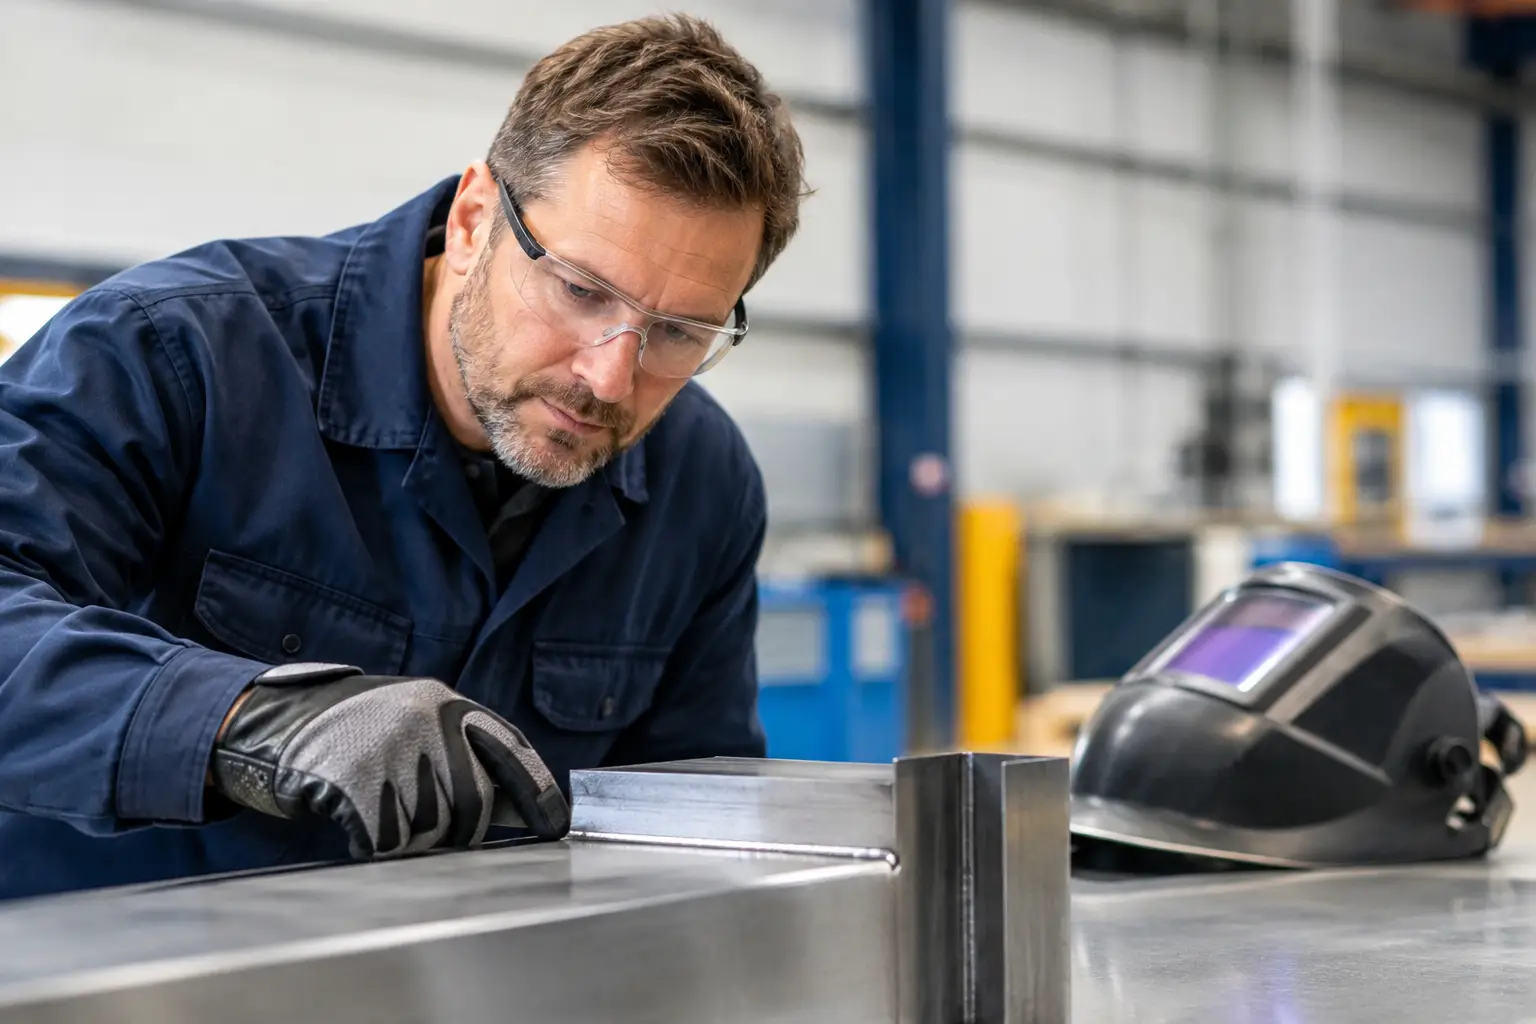
A weld that has to be gouged out, ground back and made again does more than consume filler metal. It holds up the next operation, occupies a bay, creates inspection pressure and can leave a fabrication job short of margin. Welding rework reduction is therefore not an inspection department target alone. It is a production-control issue that begins before the first arc is struck.
For fabrication managers and workshop teams, the most effective approach is not simply telling welders to be more careful. Rework falls when the joint, materials, consumables, equipment settings and acceptance criteria are controlled as one process. The practical aim is straightforward: make the correct weld the easiest weld to produce first time.
Where welding rework usually begins
Most rework can be traced to a small number of repeat causes. Poor fit-up is high on the list. Excessive root gaps, inconsistent bevels, mismatched plate edges and inadequate tack welds force the welder to compensate at the torch. That can lead to lack of fusion, excessive penetration, undercut, distortion or weld profiles that fail visual acceptance.
Joint preparation also matters more than many production schedules allow for. Rust, paint, galvanising, oil, moisture and cutting residue affect arc stability and weld integrity. A joint may look clean from a distance while still carrying contaminants that create porosity or inclusions. Cleaning is not an optional finishing activity. It is part of making the weld.
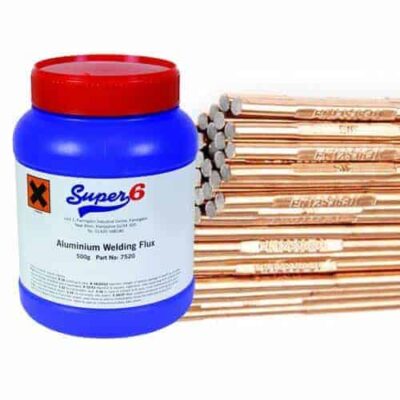
Incorrect consumable selection is another common source of avoidable cost. Filler metal must suit the parent material, welding process, service conditions and approved procedure. Shielding gas selection and flow must also match the process and working environment. A sound set-up in a sheltered workshop can become unreliable near open doors, extraction draughts or site work where gas coverage is disturbed.
Finally, there is variation in how work is interpreted. A drawing might specify a fillet size, weld length or finish requirement, but the information can be missed if it is unclear at the point of work. Where standards, weld symbols and inspection criteria are not agreed before fabrication starts, the first inspection often becomes the first proper review of the job.
Build welding rework reduction into job planning
The best time to prevent a defect is when the work is being released to the shop floor. Before cutting or tacking begins, confirm the material grade, thickness, joint detail, welding position and required weld size. Check that the specified process is suitable for access and production volume. A process that is technically capable may still be the wrong choice where it creates slow deposition, difficult positional work or an unnecessarily high risk of distortion.
A concise job pack is useful when it gives the welder what is needed at the bench: current drawing revision, weld symbols, procedure reference, material identification and inspection hold points. It does not need to become paperwork for its own sake. It must remove uncertainty. If the welder has to guess whether a joint is continuous, intermittent, cosmetic or structural, the job is already exposed to rework.
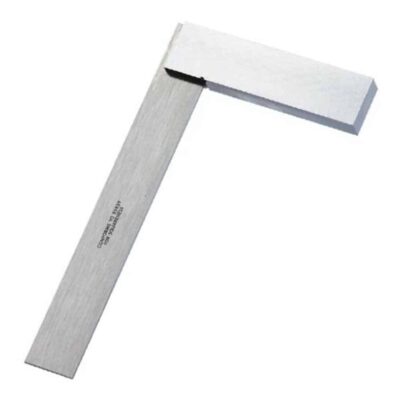
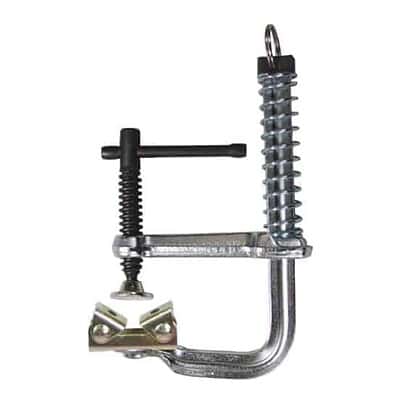
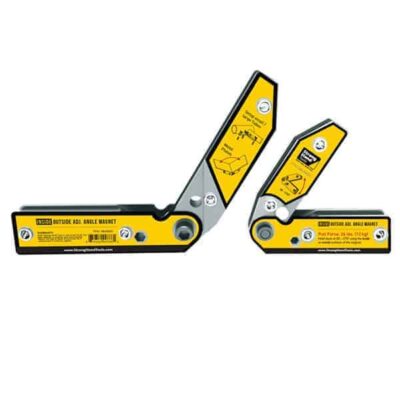
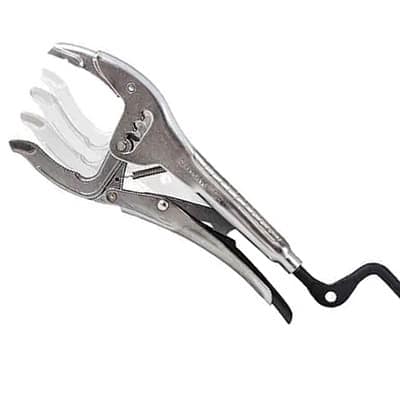
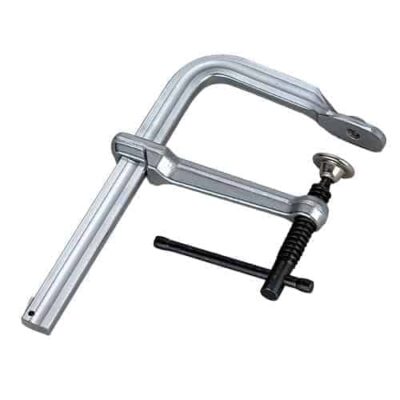
Fit-up checks should happen before welding, not after. Use gauges, squares, clamps and suitable fixtures to verify root opening, alignment and angular condition. Where repeat assemblies are being produced, purpose-made jigs can reduce variation dramatically. The initial cost is often recovered quickly through reduced set-up time, consistent dimensions and fewer distortion corrections.
Tack welds deserve the same discipline as production welds. They need adequate size, spacing and sound placement to hold the assembly without introducing cracks or restricting access. Weak or contaminated tacks can become defects buried in the final weld. On critical work, remove or fully incorporate them in line with the approved procedure rather than treating them as temporary and irrelevant.
Control consumables at the point of use
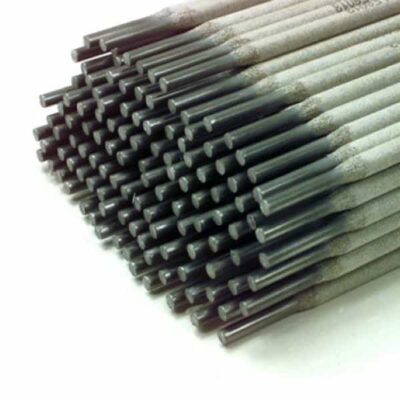
Consumables do not perform consistently if storage and handling are inconsistent. Low-hydrogen electrodes, for example, require controlled storage and, where required, conditioning in accordance with the manufacturer’s instructions and the applicable procedure. Wire should be protected from dirt, moisture and workshop damage. Damaged spools, dirty liners and worn contact tips can cause erratic feeding that shows up as poor bead appearance, spatter and unstable penetration.
Keep filler metals clearly identified and separated by type. The time saved by leaving part-used materials loose around a welding bay is usually lost later when the wrong product is selected or traceability is questioned. For higher-value or certified work, a simple issue-and-return system gives supervisors a clearer view of what has been used on each job.
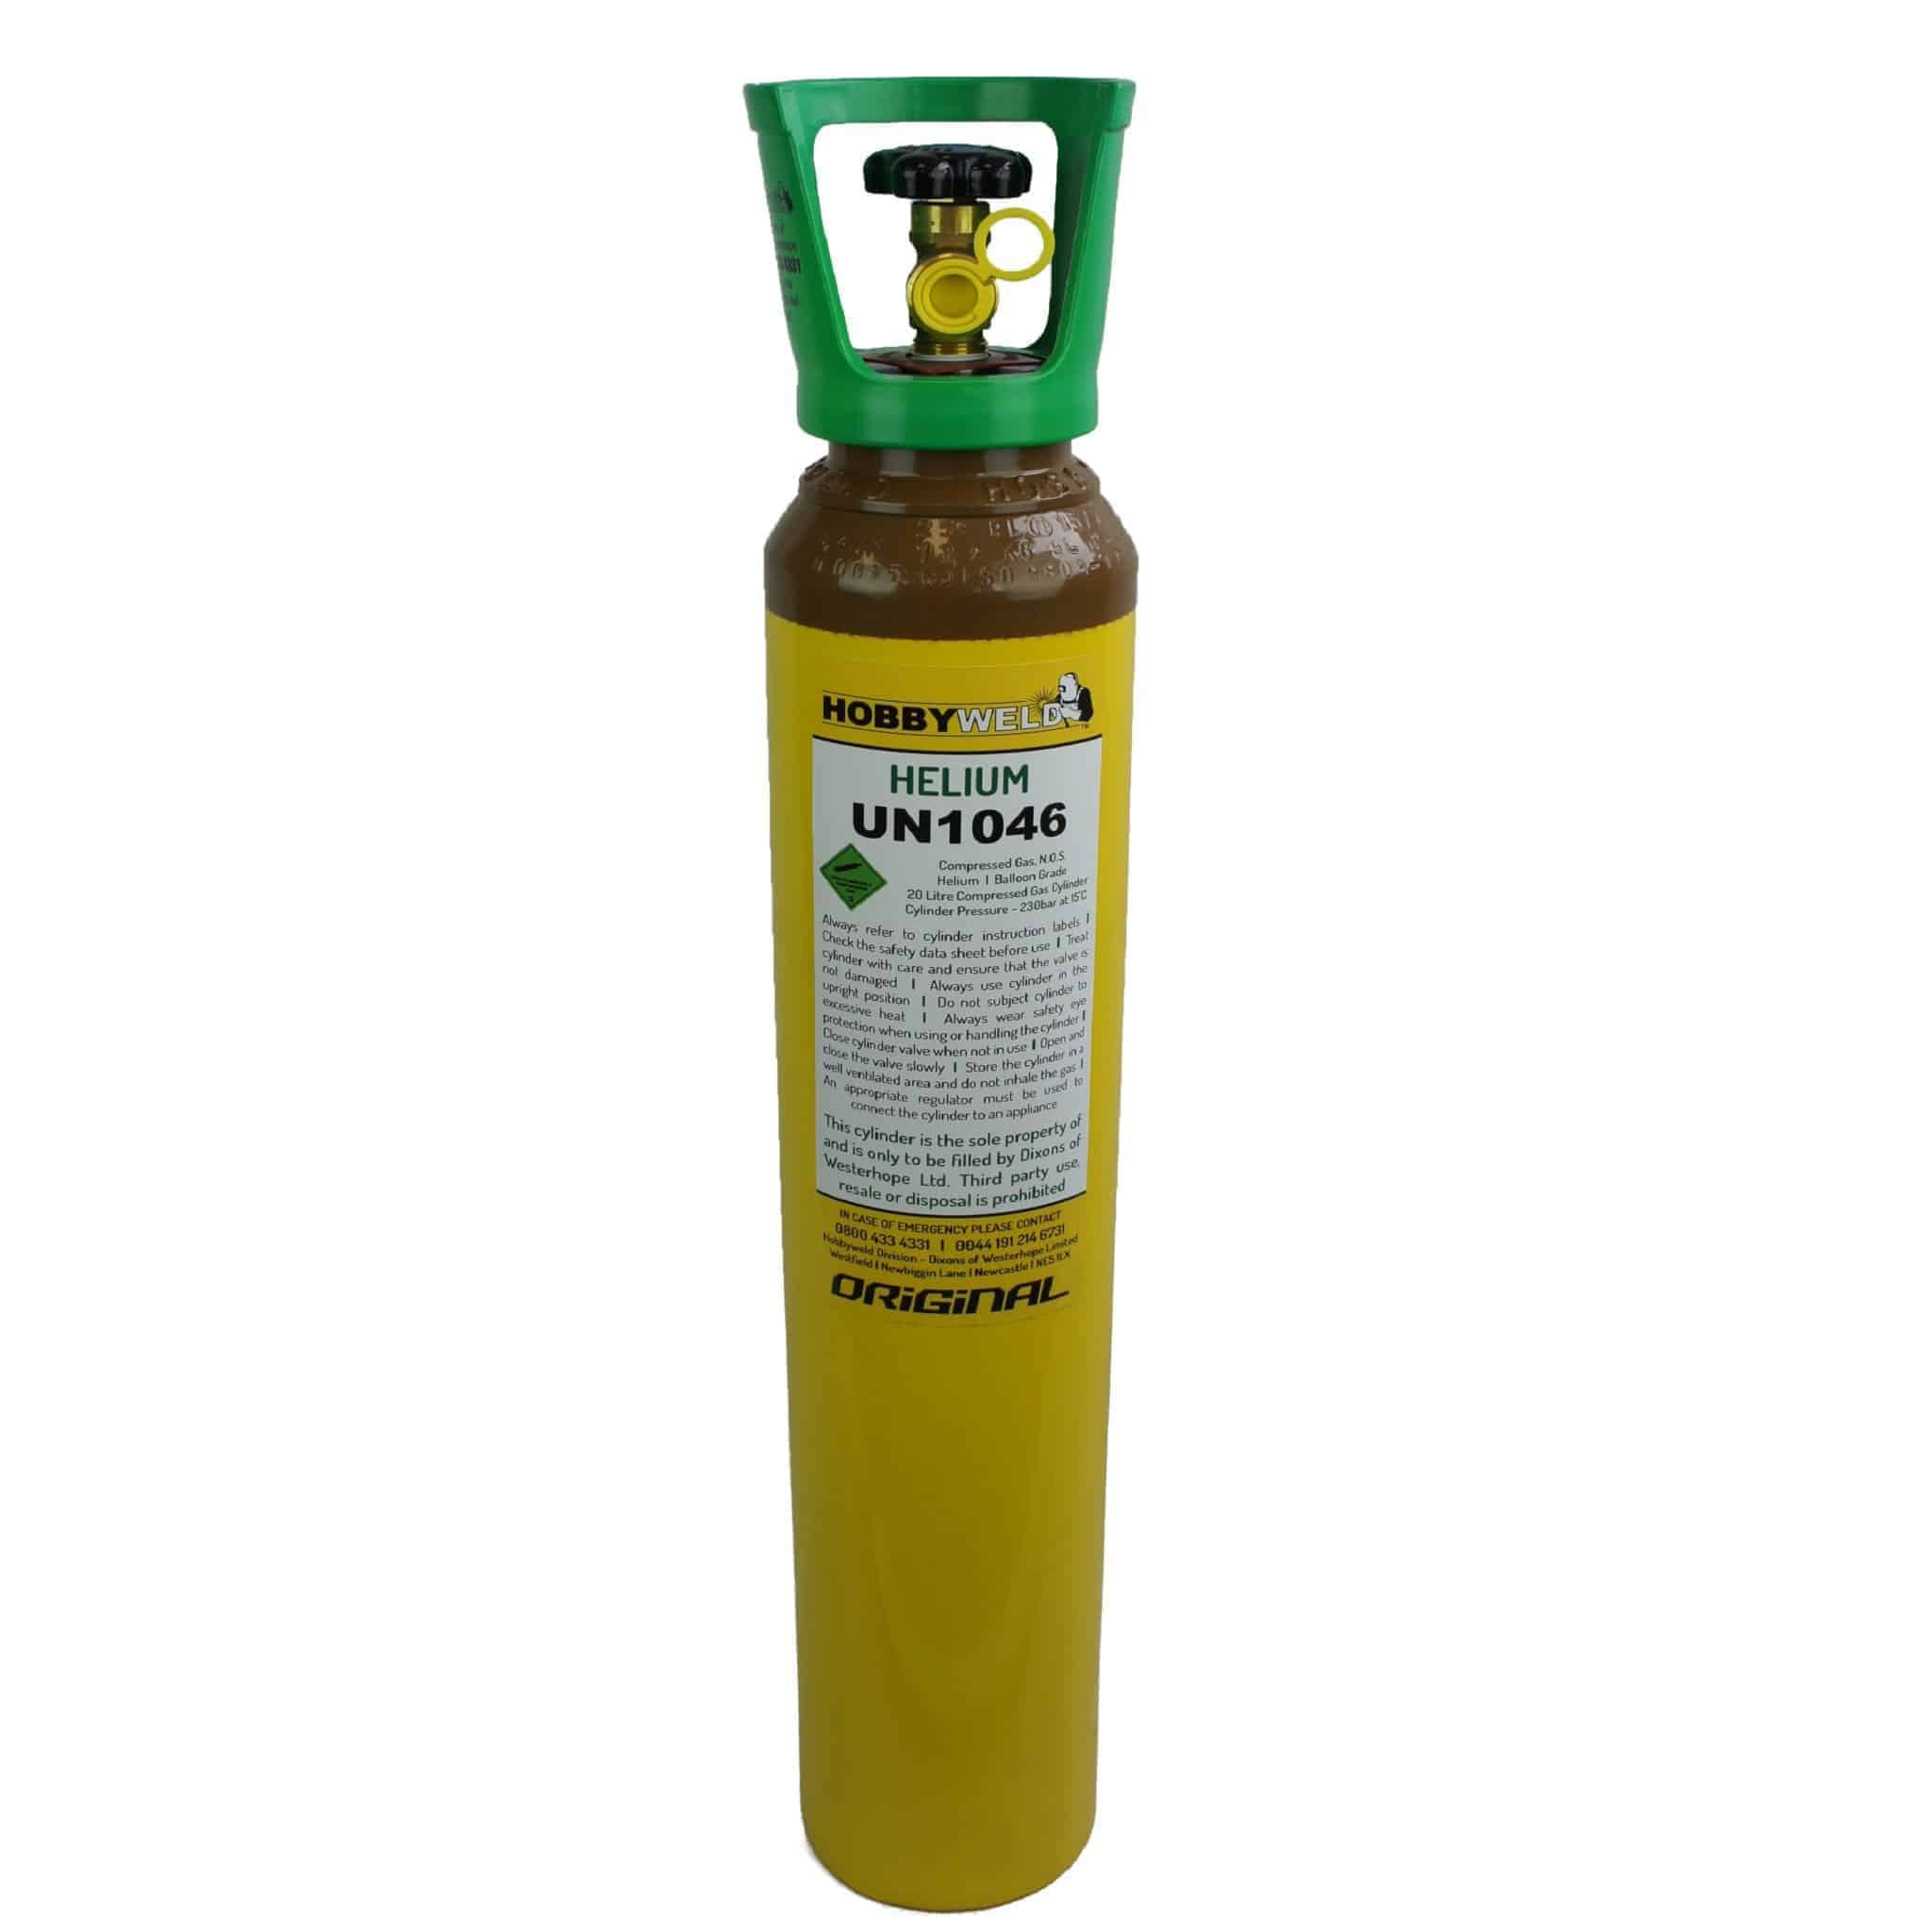
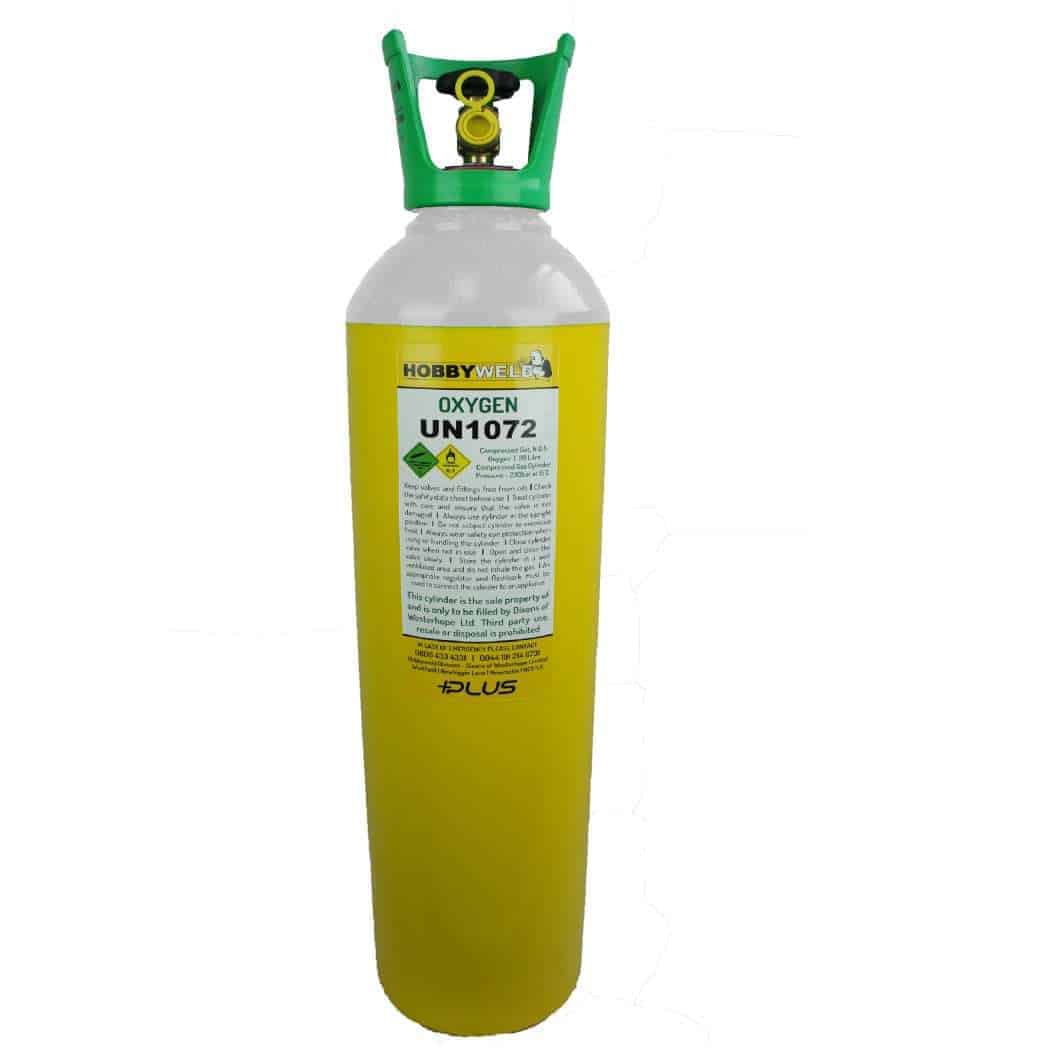
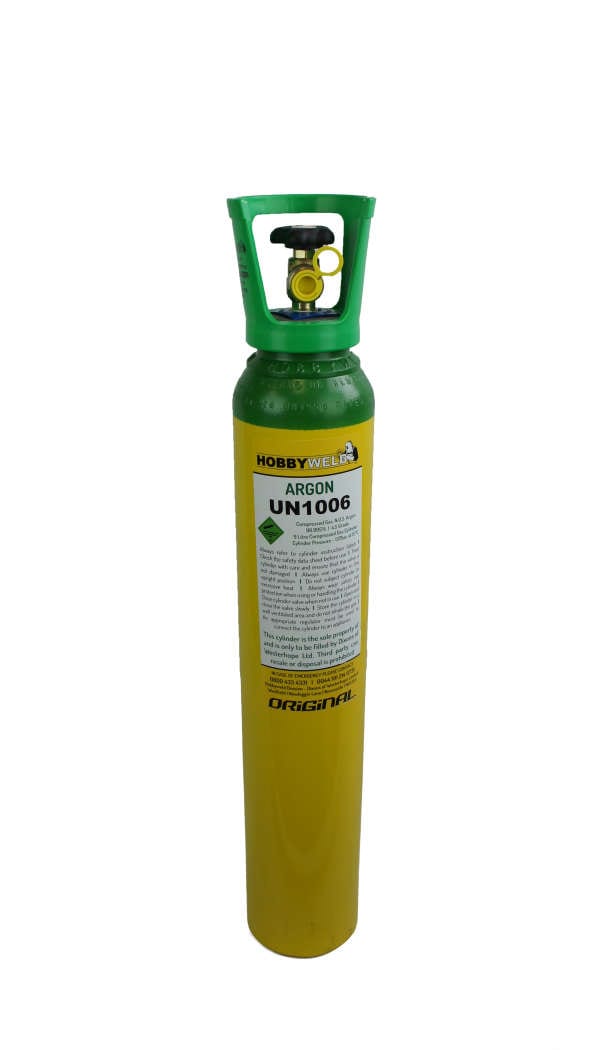
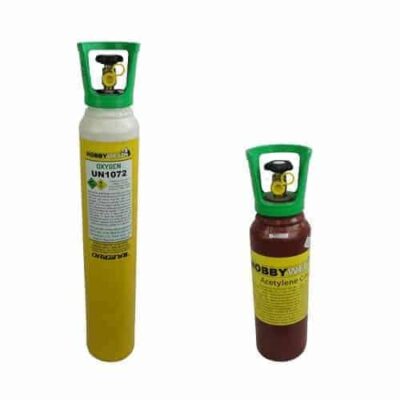
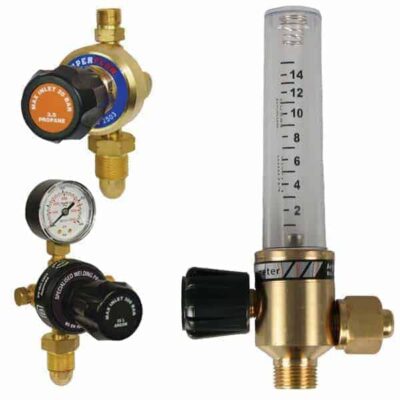
Gas supply needs the same attention. Check cylinder contents, regulators, hoses and connections before work starts. Set flow rates to the procedure, then verify that shielding is maintained at the nozzle. Raising gas flow to solve porosity is not always the answer. Excessive flow can create turbulence and draw air into the gas shield. First inspect for leaks, draughts, nozzle contamination and incorrect torch angle.
Set the weld up for repeatability
A capable welder still needs a controlled machine and a stable set-up. Record proven parameters for recurring joint types, including amperage or voltage, wire feed speed, travel speed, polarity, gas and torch position. These settings are a baseline, not a substitute for skill. Plate condition, heat sink, joint access and positional welding may require adjustment, but a known starting point reduces trial-and-error on production work.
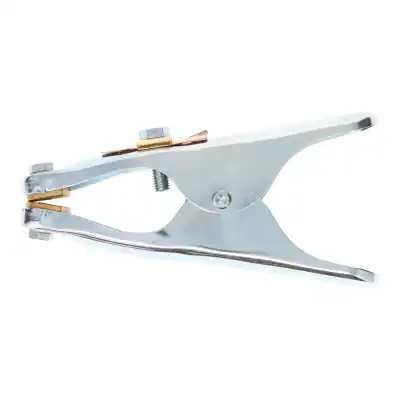
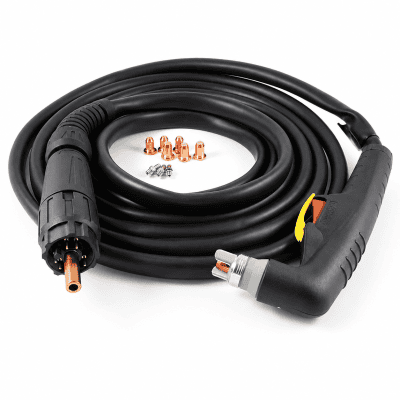
Preventive maintenance is also directly linked to quality. Poor earth connections, damaged torch leads, worn rollers, blocked liners and inaccurate meters create problems that can be mistaken for operator error. Routine checks are cheaper than chasing intermittent faults during a busy shift. Keep commonly worn parts available so a damaged contact tip or nozzle does not remain in use simply because replacement stock is not close to hand.
Heat input must be managed, particularly on thin material, long seams and assemblies with tight dimensional tolerances. Excessive heat can cause distortion, burn-through and changes to material properties. Insufficient heat can leave incomplete fusion. The right balance depends on material thickness, joint design, restraint, process and weld sequence.
Sequencing is frequently overlooked. Alternating sides, using back-step techniques where appropriate and distributing heat across an assembly can limit movement. There is no universal sequence that suits every fabrication. A heavy frame and a thin sheet-metal enclosure behave differently. The useful discipline is to predict where heat will pull the work, then plan clamping, tacking and sequence around that movement rather than correcting it after welding.
Inspect earlier, not just harder
Final inspection is necessary, but it is an expensive place to discover a recurring defect. In-process checks catch problems when correction is smaller and the cause is still visible. A supervisor or lead welder should inspect first-off components, confirm joint preparation and review early welds before a batch is completed.
Visual inspection remains the first line of defence. Check for profile, size, overlap, undercut, surface porosity, craters, arc strikes and incomplete weld length. Use the correct gauges rather than relying solely on appearance. A weld can look neat while failing the required throat thickness or leg length.
Where the job specification calls for non-destructive testing, prepare for it rather than treating it as a final obstacle. Surface condition, access, weld dressing and traceability should be considered before the part reaches testing. More intensive inspection will not compensate for weak process control. It will only identify the cost after it has been created.
Use rework data to remove the repeat causes
Do not record every rejection merely as a failed weld. Categorise the cause: fit-up, contamination, parameter control, consumable condition, drawing interpretation, access, distortion or handling damage. That distinction turns a repair record into useful production data.
Review the pattern regularly with the people doing the work. If porosity appears on one bay, investigate gas coverage, equipment condition and local draughts. If a particular assembly repeatedly requires straightening, review the fixture and sequence. If weld size is frequently rejected, look at drawing clarity, gauges and first-off checks before assuming the issue is individual performance.
The objective is not to create a blame culture. Experienced welders are often the first to recognise that a joint design, fixture or instruction is setting the job up badly. Their feedback is practical evidence. Acting on it improves throughput and helps retain the skill that production depends on.
For workshops looking to reduce repair time, the most reliable gains usually come from better preparation, correctly matched trade-grade consumables, maintained equipment and checks at the moment defects are easiest to correct. ProWeld can support that approach with dependable welding and fabrication supplies selected for demanding workshop use. Start with the next repeat job: control the fit-up, prove the settings and inspect the first component before the same fault has the chance to become a batch problem.