








Blog
Best Metal Deburring Tools for Fabrication
A sharp edge on a cut bracket, tube end or drilled hole is not a minor finishing issue. It can cut hands, damage cable insulation, prevent parts seating correctly and leave an otherwise sound fabrication looking unfinished. The best metal deburring tools remove that risk quickly without rounding over critical edges, distorting thin material or creating unnecessary rework.
For professional fabrication, the right tool depends on the material, edge profile, production volume and finish requirement. A hand deburring blade may be the fastest option for a single drilled hole, while a carbide burr or abrasive wheel is better suited to heavier burrs, welded assemblies and repeat work. Selecting by application rather than habit produces cleaner components and keeps finishing time under control.
What makes a good deburring tool?
A burr is displaced material left behind by cutting, punching, drilling, sawing, plasma cutting or grinding. It may be a fine feather edge, a heavy rolled lip, or a sharp projection around a hole. Good deburring removes this unwanted material while preserving the intended dimensions of the part.
The wrong tool can create a second problem. An aggressive grinding disc can thin sheet material or alter a profile. A blunt file can polish a burr rather than cut it away. An oversized countersink can remove too much material from a hole, affecting bolt seating or fit-up. The best choice is therefore the least aggressive tool that removes the burr reliably at the required rate.
For most workshops, a practical deburring setup includes hand tools for controlled finishing, powered abrasives for external edges and carbide tools for hard materials or demanding removal. Keeping several options available is usually more efficient than trying to make one tool cover every job.
Best metal deburring tools by application
Hand deburring tools for drilled holes and light edges
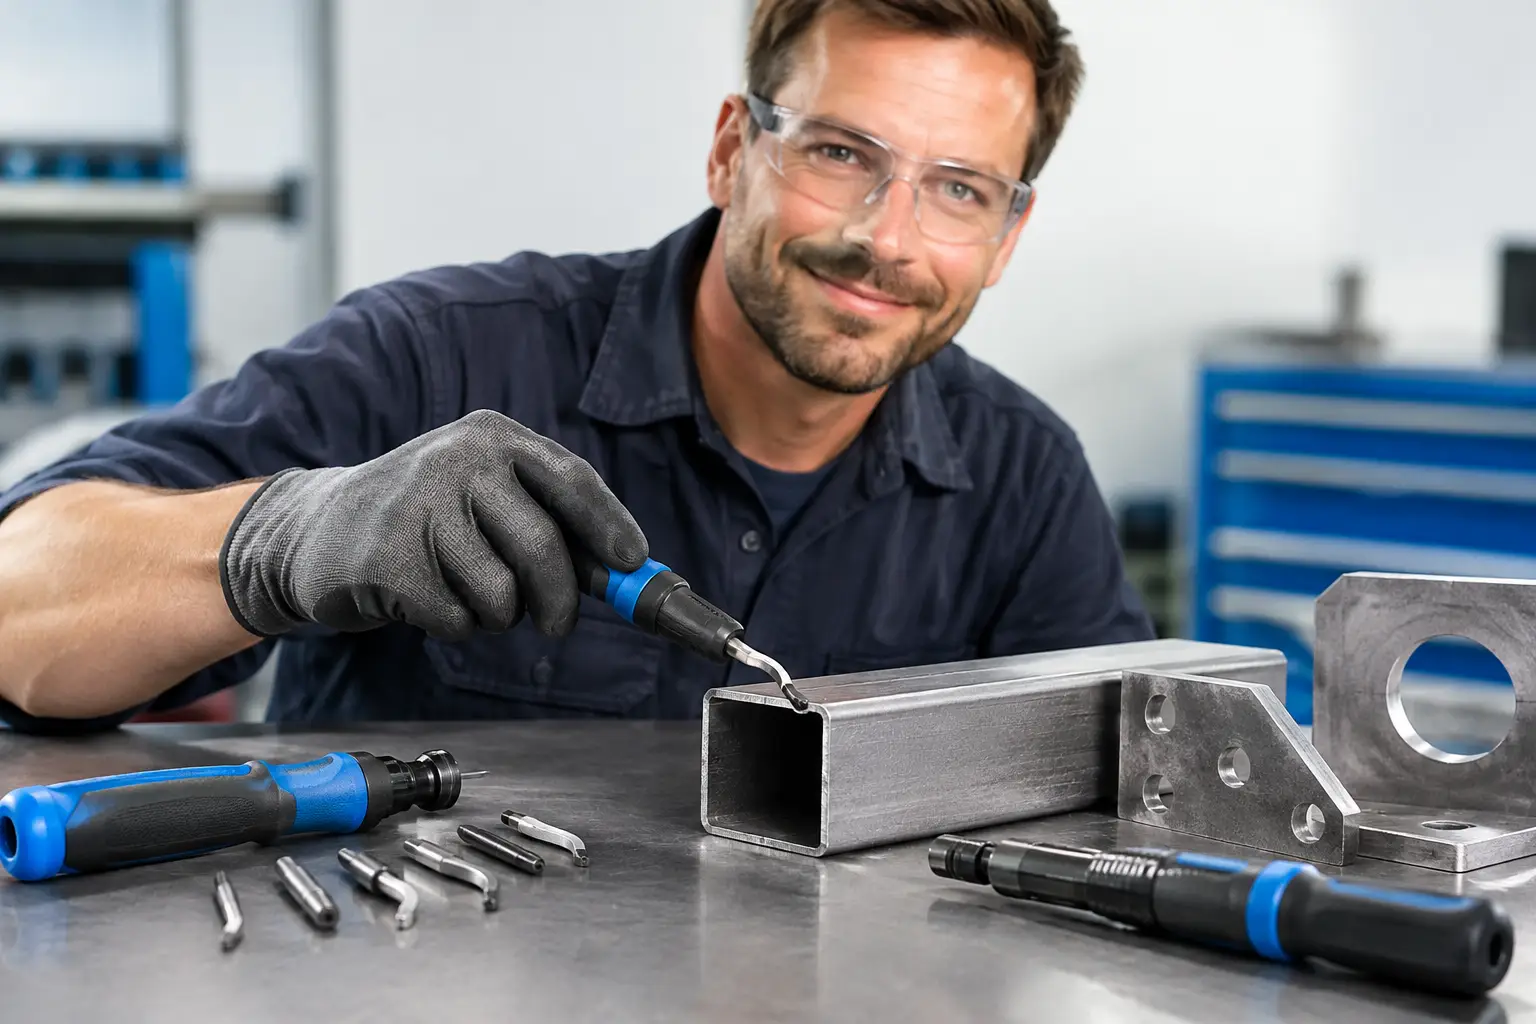
A hand deburring handle with replaceable swivel blades is one of the most useful tools at a bench. The blade follows straight edges, curves and the mouths of drilled holes, cutting a controlled chamfer with minimal effort. It is particularly effective on mild steel, aluminium, copper, brass and plastics used alongside fabricated assemblies.
For holes, select a blade intended for internal deburring and match it to the bore diameter. A light turn around both sides of a drilled hole is often enough to remove the sharp lip and make fastener installation safer. Do not force the blade into heavy burrs or thick scale. It will shorten blade life and can chatter across the edge.
These tools are inexpensive, portable and precise, but they are not the fastest option for long runs of heavy plate or large batches of parts. They earn their place in final assembly, maintenance work and low-volume fabrication where control matters more than removal speed.
Files for controlled fitting and edge correction
A quality engineer’s file remains essential for local correction. Flat files suit straight external edges, half-round files work on radii and internal curves, while round files are useful for opening and smoothing holes. Files are particularly valuable where a machine tool cannot reach or where a component needs a small adjustment during fit-up.
Use a file with a proper handle and cut on the forward stroke. Filing back and forth reduces cutting efficiency and wears the teeth unnecessarily. Chalk can help prevent pinning when filing softer metals, especially aluminium. For stainless steel, keep files dedicated where possible to reduce the risk of cross-contamination from carbon steel particles.
Files are slow for production deburring, but they provide excellent control. They are also less likely than a powered grinder to remove excessive material from a finished edge or prepared joint.
Countersinks for hole mouths
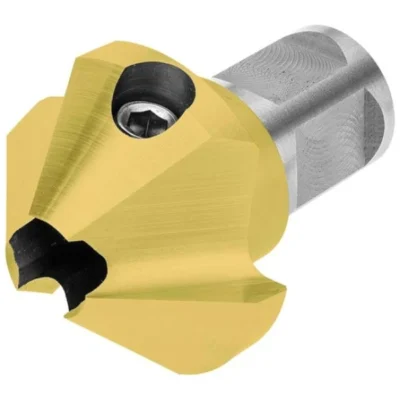
A countersink is the correct tool when a drilled hole needs a consistent chamfer. It removes the burr at the hole entrance and can prepare seating for countersunk screws where the specified angle is required. Multi-flute countersinks produce a smooth finish in many materials, although they can chatter if run too fast or applied with too much pressure.
For ordinary deburring, use a light touch. The objective is to break the edge, not create a deep chamfer. On thin sheet, excessive countersinking can enlarge the opening and leave a sharp edge on the reverse side. Support the workpiece properly and deburr both faces if the operation has raised material through the sheet.
Single-flute or cross-hole style countersinks can be useful where chatter is a persistent issue, particularly in softer material. Whichever style is used, a sharp cutter and sensible drill speed matter more than force.
Carbide burrs for heavy burrs, welds and hard materials
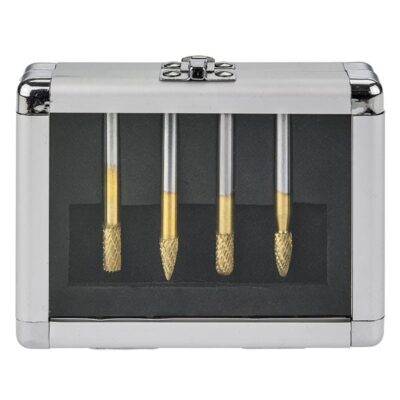
Carbide burrs fitted to a die grinder are the practical choice for heavier material removal. They can remove weld spatter, blend sharp torch-cut edges, clean inside corners and deal with burrs that would quickly defeat a hand blade. Available head shapes allow access to flats, radii, slots and confined areas.
For steel and stainless steel, use a burr with a cut suited to the material and maintain steady movement. Holding a carbide burr in one spot generates heat, gouges the surface and can leave an uneven finish. On aluminium, use a burr designed to resist loading. Standard fine cuts can clog quickly, increasing heat and making the tool difficult to control.
Carbide burrs remove material rapidly, so they demand care around finished dimensions, machined faces and thin sections. They are a production tool, not a substitute for accurate cutting or drilling.
Flap discs and non-woven abrasives for external edges
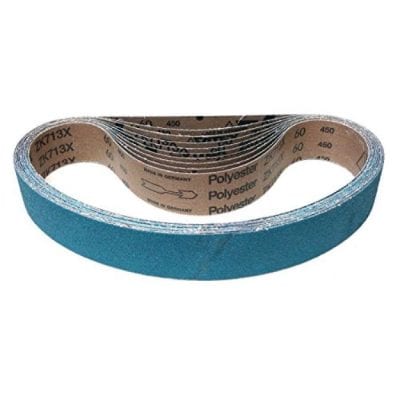
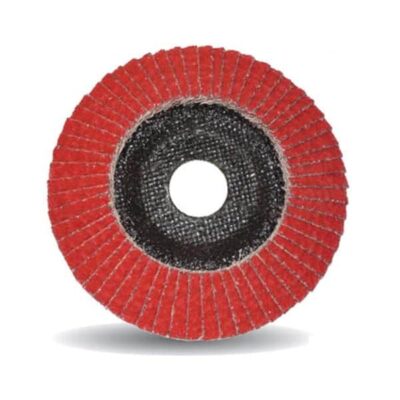
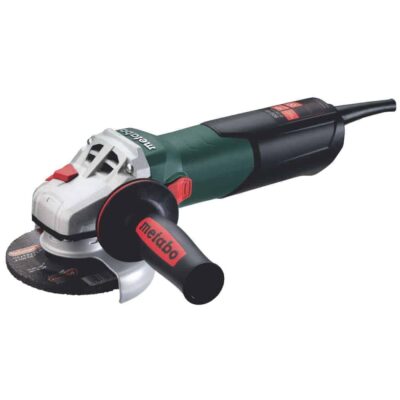
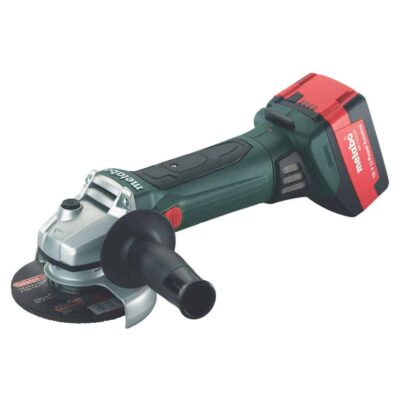
Flap discs are effective for breaking long external edges and blending weld transitions on plate, box section and fabricated frames. They are available in different grit sizes, with coarser grits providing faster stock removal and finer grits leaving a more controlled finish. For general edge breaking, a medium grit often offers the best balance between speed and finish.
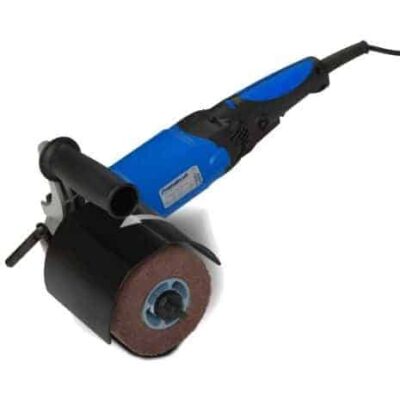
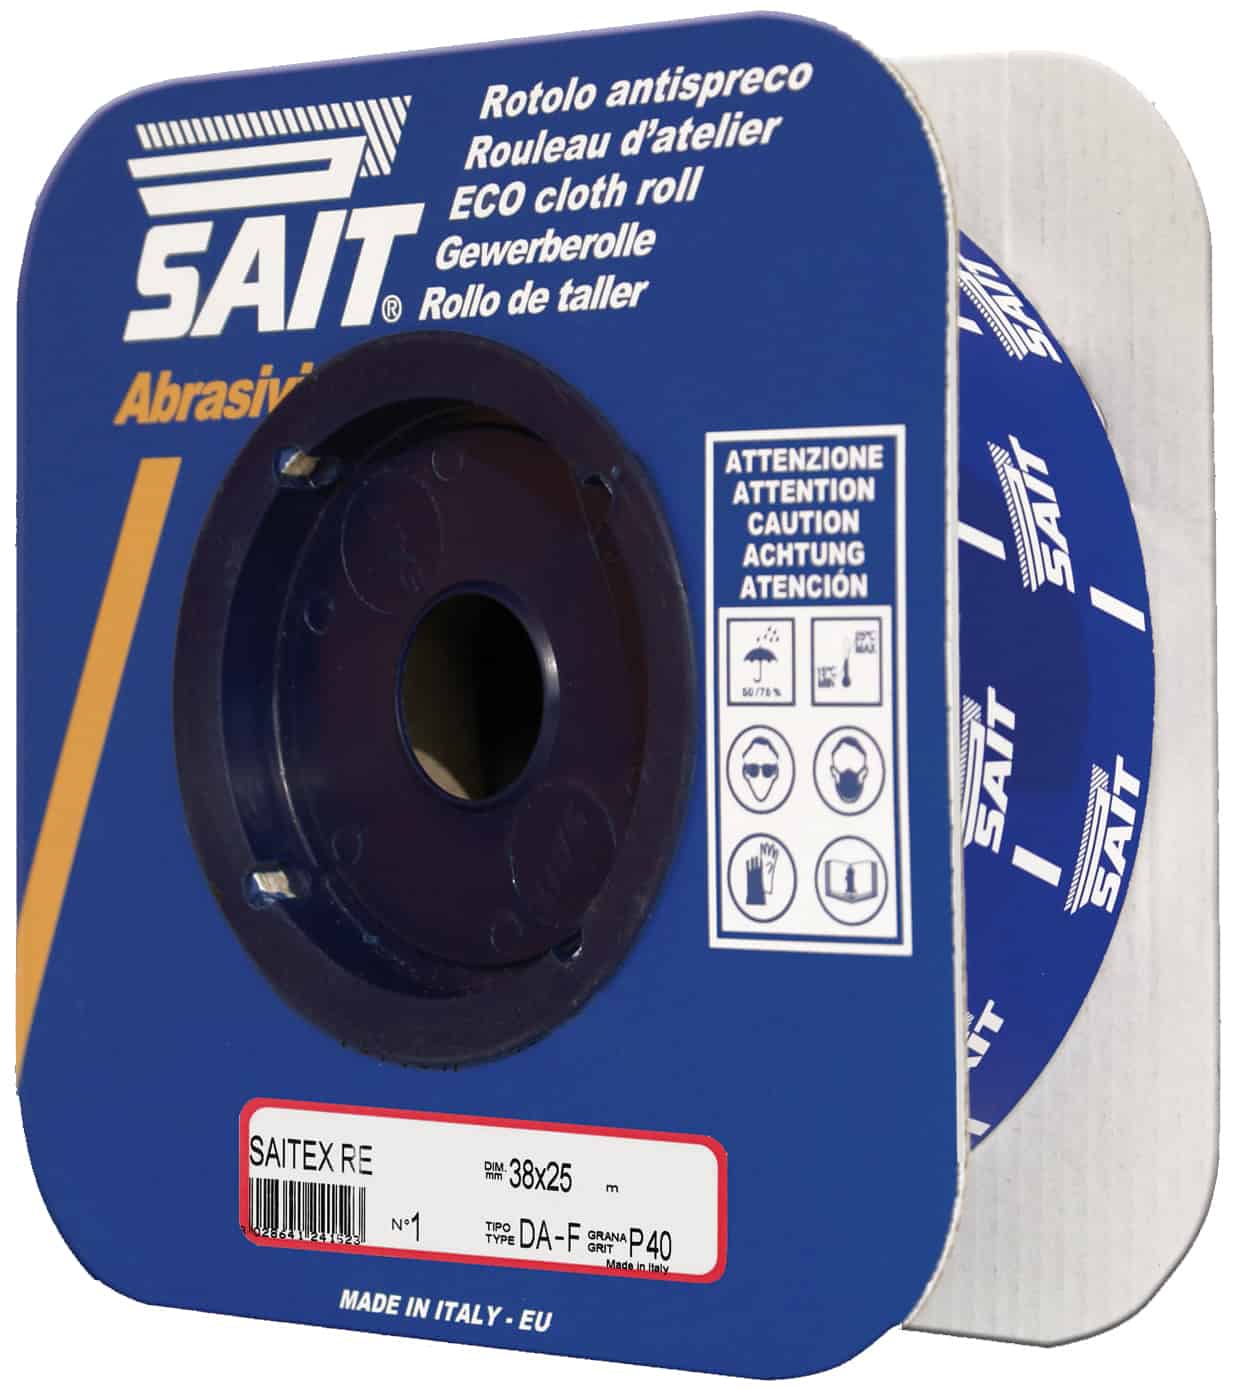
Where surface appearance matters, non-woven abrasive wheels and discs are often preferable after initial deburring. They soften sharp edges, remove light oxide and blend grind marks without cutting as aggressively as a flap disc. This makes them useful before coating, painting or stainless finishing work.
Abrasive tools are efficient, but they can alter edge geometry quickly. Keep the grinder moving, work at a shallow angle and avoid leaning heavily into corners. Excess heat can discolour stainless steel and damage coatings on pre-finished material.
Bench grinders and deburring wheels for repeat work
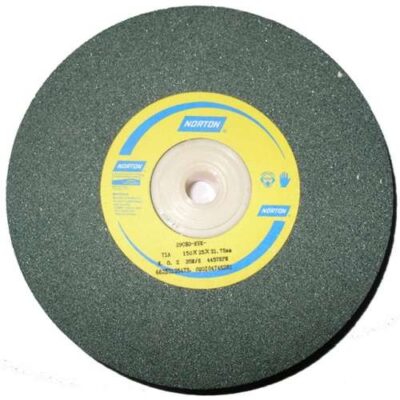
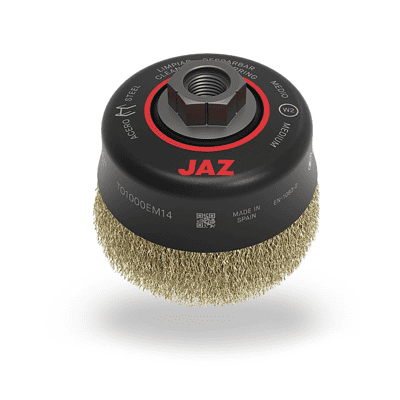
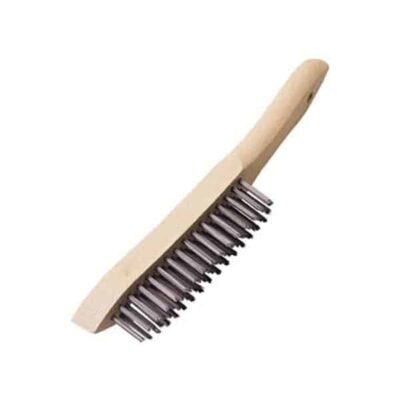
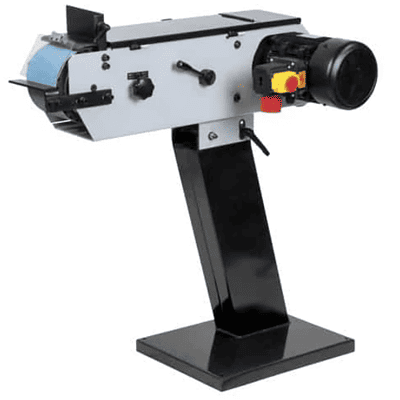
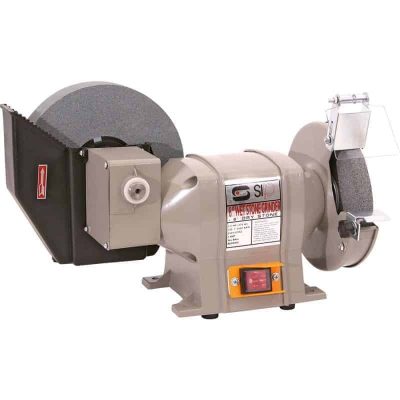
For a workshop processing regular batches of small parts, a bench-mounted deburring wheel can save considerable time. Wire wheels remove light burrs and scale, while abrasive wheels and specialised deburring wheels can break edges consistently on cut parts, fasteners and brackets.
The limitation is control. A bench grinder is not suitable for every profile, and small components can catch if handled carelessly. Use guards, eye protection and suitable workholding. Never attempt to deburr a part so small that it cannot be held securely clear of the wheel.
Selecting the right tool for the material
Mild steel is generally forgiving and can be deburred effectively with blades, files, abrasives or carbide burrs. Stainless steel requires cleaner abrasive practice and controlled heat input, particularly where corrosion resistance and appearance are important. Dedicated stainless consumables help prevent transfer of contaminants from carbon steel work.
Aluminium cuts easily but can load abrasive products and burrs. Use sharp tools, open-coat abrasives where appropriate and cutters designed for non-ferrous material. Brass and copper can leave long, sharp burrs around drilled holes, making hand blades and countersinks especially useful.
Material thickness also changes the decision. Thin sheet needs a light touch to avoid distortion or a visible rolled edge. Heavy plate may require a grinder or carbide burr before a finer finishing step. For laser-cut components, assess both faces because the lower edge can carry dross or a heavier burr depending on cutting parameters.
A practical deburring sequence
The most efficient approach is to remove burrs as close to the cutting or drilling operation as possible. Leaving sharp edges until final assembly creates handling hazards and makes it harder to identify which process caused the problem.
Start by removing the main burr with the appropriate tool. Then inspect the edge by sight and touch, using gloves where required for handling. The finished edge should be smooth enough to handle safely, but not excessively rounded unless the drawing or end use calls for it. On parts that will be painted or powder coated, a consistent edge break also improves coating coverage and reduces the chance of thin paint at sharp corners.
For repetitive work, standardise the process. Specify the tool, abrasive grade and acceptable edge condition for each job type. This reduces variation between operators and prevents over-finishing, which consumes labour without improving the component.
Safety and tool life matter
Deburring produces sharp swarf, dust and sparks. Wear suitable eye protection, gloves for handling sharp stock and hearing protection when using powered tools. Gloves should not be worn near rotating machinery where there is a risk of entanglement. Secure workpieces before using a grinder or die grinder, and check that discs, collets and guards are correctly fitted.
Tool condition directly affects finish quality. Replace dull hand blades, worn files and loaded abrasives before they begin to burnish rather than cut. A fresh consumable often reduces cycle time and gives a more predictable edge, which is cheaper than correcting damaged work later.
The best deburring process is usually the one that removes the hazard in one controlled operation and leaves the part ready for the next stage. Match the tool to the burr, keep cutting consumables in good condition, and treat edge finishing as part of fabrication quality rather than an afterthought.