







Blog
Auto Darkening Helmet Review for Welders
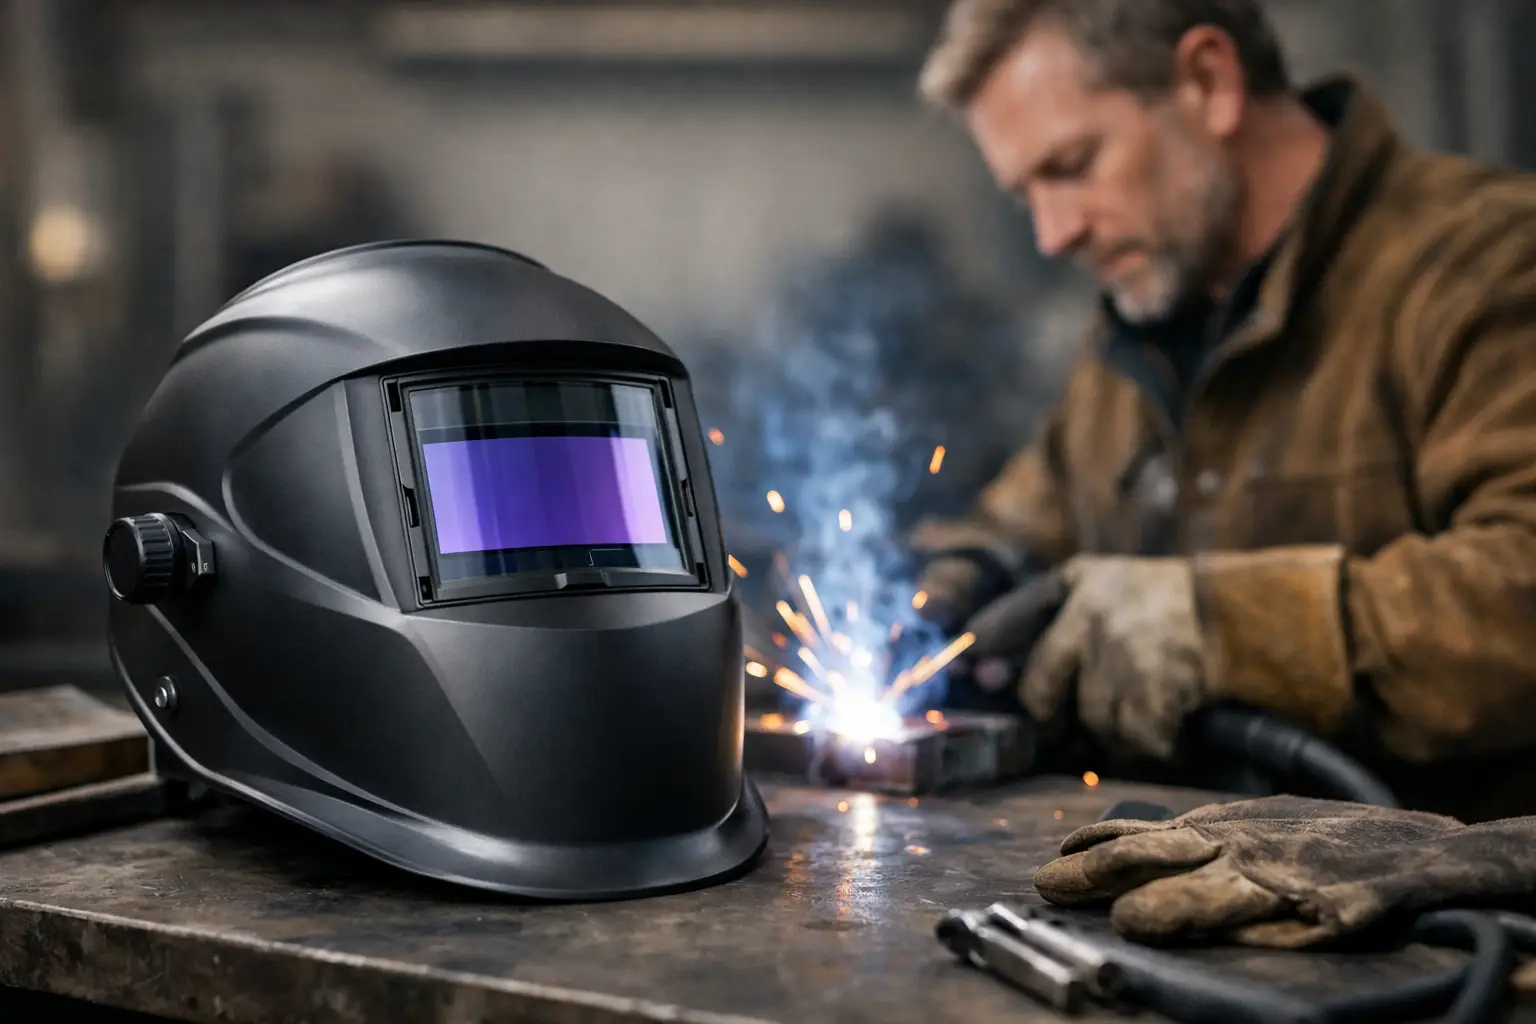
A welding helmet becomes a problem the moment it makes a sound weld harder to produce. Missed starts, eye strain after a long run, poor visibility at the puddle edge and an awkward headgear are not minor irritations in a fabrication shop. This auto darkening helmet review focuses on the specifications that affect daily welding work, rather than headline features that add little value on site.
What an auto darkening helmet must do
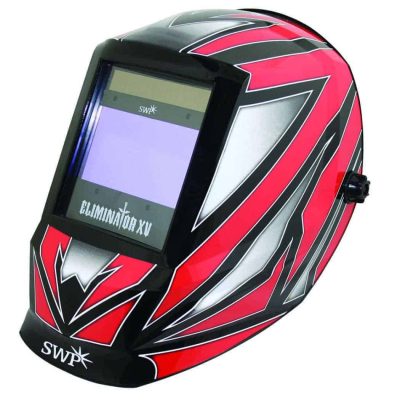
An auto darkening welding helmet uses sensors to detect the welding arc and switches its viewing cassette from a light state to a selected dark shade. This allows the welder to see the joint before striking up, maintain position through the start and inspect the work without repeatedly lifting the helmet.
For production work, repair work and general fabrication, that is a genuine improvement over a passive helmet. The benefit is not simply convenience. A clear view of the joint improves torch or electrode placement, particularly when working on tacks, root runs, outside corners and awkward assemblies.
However, not every automatic helmet suits every process. A unit that performs well for bench MIG work may be less convincing for low-amperage TIG, outdoor repairs or overhead work. The correct buying decision starts with the welding being carried out, the expected shift length and the environment around the operator.
Auto darkening helmet review: lens quality first
The lens cassette is the working part of the helmet. Start there before considering shell graphics, accessory compatibility or a large stated viewing area.
Optical class and clarity
Many professional cassettes are marked using four optical ratings, commonly shown as 1/1/1/1. These cover optical quality, light diffusion, variations in luminous transmittance and angular dependence. Lower figures are better, with 1 being the top rating in each category.
A 1/1/1/1 lens is not automatically the right answer for every occasional repair job, but it is a worthwhile benchmark for frequent welding. It gives a more consistent view across the screen and reduces the distortion or uneven shading that can make accurate work tiring. For welders spending hours on fine stainless work, aluminium fabrication or repeated positional welds, it is a practical productivity feature rather than a luxury.
Lens colour also matters. Older cartridges can produce a green, muted view. Modern true-colour style lenses generally provide a more natural contrast between the joint, parent metal and puddle. This makes it easier to read the weld pool and see the joint edges, especially where material finish or workshop lighting already reduces definition.
Viewing area is useful, but not absolute
A larger viewing area helps when following longer welds, working around fixtures or moving between a joint and a nearby reference point. It can be particularly useful in fabrication bays where the welder needs to maintain awareness of clamps, stops and component edges.
There is a trade-off. Larger cassettes can add cost and may make the helmet shell bulkier. For routine bench work on prepared components, a medium viewing area with a high-quality lens is often more useful than the biggest window available with lower optical performance. Prioritise what you can see clearly, not only how much of it you can see.
Shade range and response to the arc
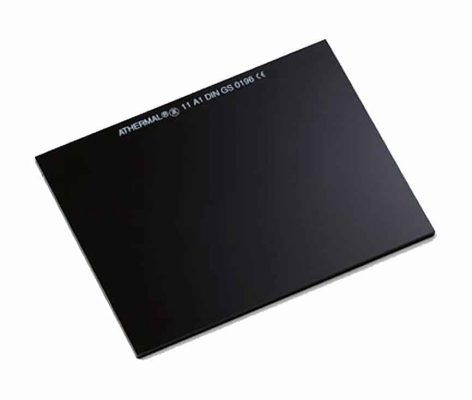
The helmet must cover the shade levels required by the process and current range. Fixed shade 11 helmets remain suitable for some straightforward applications, but variable-shade units provide broader use across MIG, MMA, TIG and plasma cutting.
For general fabrication, a variable range around shade 9 to 13 is common and gives practical coverage for many tasks. Low-current TIG may require a lighter setting, while higher-amperage MIG, MMA or gouging work needs a darker shade. Refer to the process guidance and workplace safety requirements rather than selecting a shade by habit alone.
Switching speed is often presented as a headline figure. A fast reaction time is desirable, but it should not be judged in isolation. The permanent UV and IR protection built into a compliant cassette remains in place even before the lens darkens. What affects real usability is whether the helmet detects the arc reliably and reaches the chosen shade consistently.
That is why sensor count and placement deserve attention. A two-sensor helmet can be perfectly adequate for clear, open welding positions. Four sensors give better protection against a sensor being blocked by the torch, electrode holder, workpiece or the welder’s own hand. For pipework, structural work and positional welding, four sensors are usually the safer specification.
Controls that make sense in a working workshop
Sensitivity and delay controls allow the cassette to be matched to the job. Sensitivity determines how readily the lens responds to an arc. Delay controls how long it remains dark after the arc stops.
Higher sensitivity is useful for low-amperage TIG, where the arc can be less intense. It may need reducing when there are several welders operating nearby, otherwise another arc could trigger the lens. Delay is helpful on high-amperage work where the puddle and surrounding metal remain bright after welding stops. Too little delay can expose the operator to an uncomfortable afterglow, while excessive delay slows inspection and repositioning.
External controls are valuable where settings need frequent adjustment between jobs. Internal controls are less exposed to knocks, dirt and accidental changes. There is no universal winner. A workshop producing repeat runs may prefer protected internal settings, whereas maintenance teams moving between processes may benefit from quick external adjustment.
Check the battery arrangement as well. Solar-assisted cassettes are common, but the helmet may still use replaceable batteries. A replaceable battery is straightforward to maintain and avoids losing a working helmet to a depleted sealed cell. Whichever system is chosen, include battery checks in planned equipment inspections rather than discovering the issue during a shutdown repair.
Shell design, headgear and real comfort
A high-spec lens cannot compensate for a helmet that will not stay in position. Headgear should offer adjustment for head size, crown height, tilt and forward-back balance. The helmet should settle securely when lowered without excessive tightening at the forehead.
Weight needs to be considered with balance. A very light shell with poor support can still create neck fatigue, while a slightly heavier helmet that sits close to the head may feel more stable over a full shift. Try the helmet in the working position, not just raised. Check clearance around safety glasses, hearing protection and respiratory equipment where used.
Shell material and shape affect durability and access. A compact shell can be easier to use in confined or restricted positions. A broader shell may provide better side coverage and protection from spatter. For high-heat or heavy fabrication environments, look for a shell designed to withstand the duty cycle, regular spatter and workshop handling expected of it.
Do not overlook consumables. Front cover lenses are sacrificial items and should be easy to source and replace. A scratched outer cover quickly reduces contrast and can make a good cassette appear poor. Keep clean replacement covers available at the welding station and replace them before visibility becomes compromised.
Match the helmet to the process
The best helmet specification depends on the work. A fabrication company primarily running MIG on jigs needs dependable arc sensing, a durable shell, sensible shade coverage and headgear that remains comfortable through repetitive work. A welder carrying out precision TIG on thin material should place more emphasis on optical class, low-amperage sensitivity and true-colour visibility.
Maintenance work introduces different priorities. The helmet may be used outdoors, in variable light, around painted or corroded steel, and in positions where the sensors are partly obstructed. Four sensors, a secure fit and controls that can be adjusted without delay are often worth the additional spend. For occasional site welding, durability and a straightforward interface may matter more than advanced fine-tuning.
For teams buying several helmets, standardisation has practical value. Common cover lenses, batteries, headgear parts and operating controls simplify stores management and make it easier to train new staff. ProWeld buyers should assess the total cost of keeping the helmet in service, not only the purchase price.
Checks before putting a helmet into service
Before use, inspect the shell for cracks, check the headgear adjustment and confirm the cover lenses are clean. Test the darkening function using the manufacturer-approved test method. Verify that the selected shade, sensitivity and delay are appropriate for the task, and make sure the helmet is compatible with other required PPE.
Keep the cassette clean and protect it from unnecessary heat, moisture and impact when it is not in use. If the lens flickers, fails to darken consistently, has a damaged display or gives the operator eye discomfort, remove it from service until it has been checked. A helmet is safety equipment, not an item to keep using until it finally stops working.
A well-chosen auto darkening helmet should disappear from the welder’s attention once the arc is struck. If it provides a clear view, stays comfortable, responds reliably and suits the process at hand, it is doing the job that matters: helping skilled work stay accurate from first tack to final pass.