

















Blog
How to Fit Weldable Hinges Properly
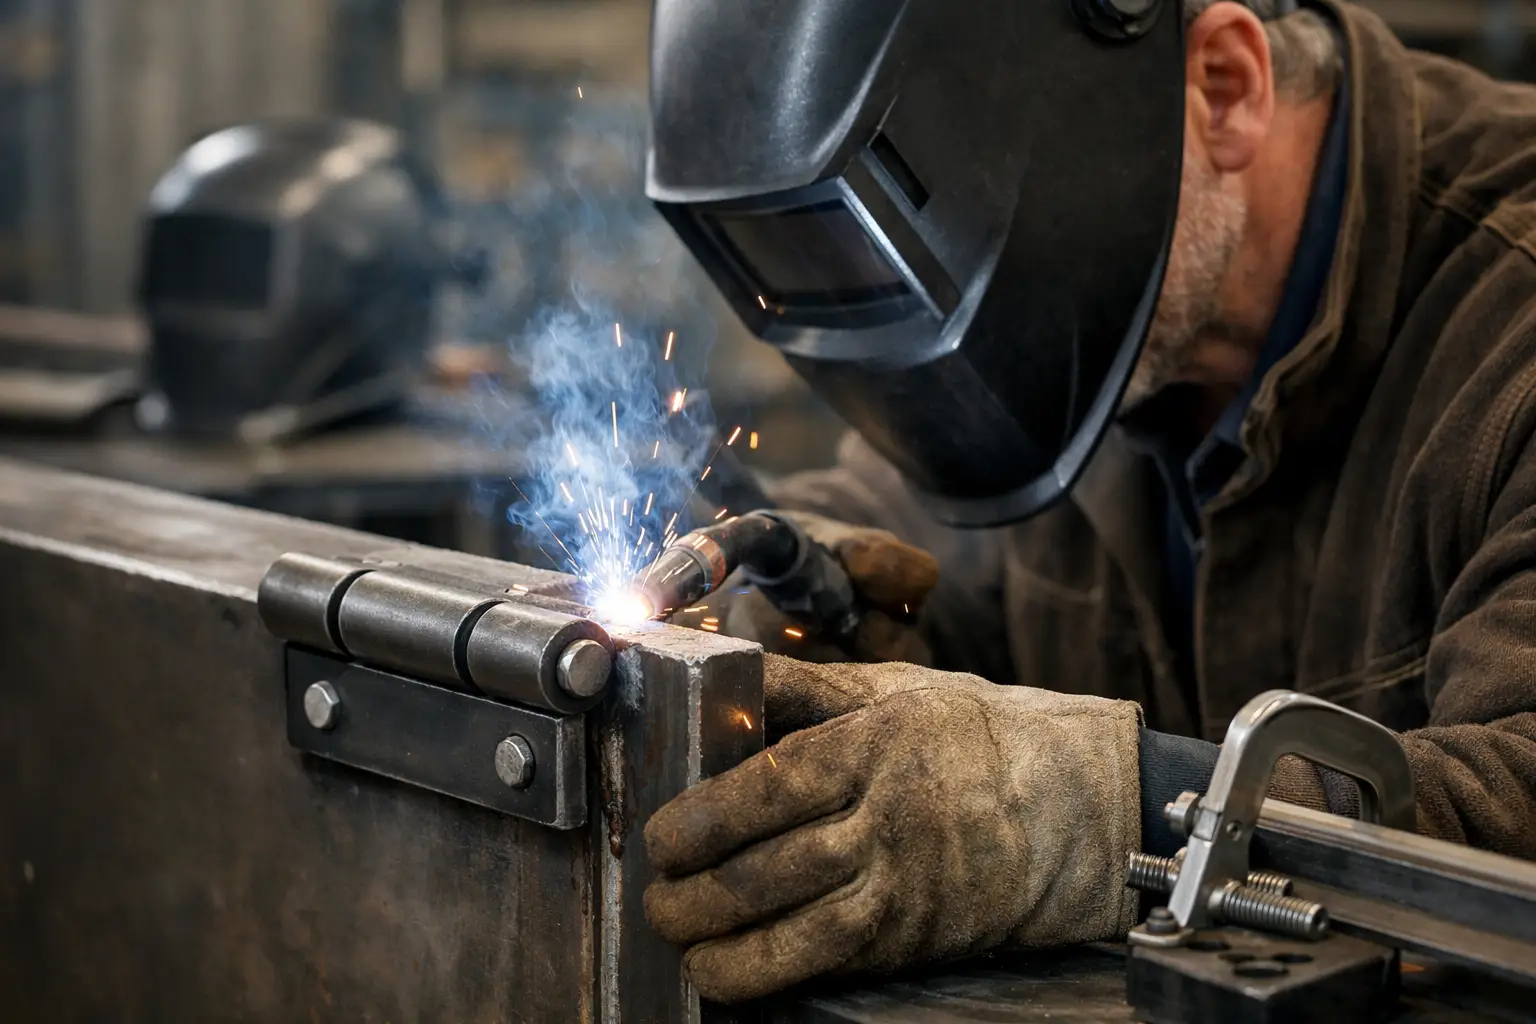
A gate that drops, binds or twists usually comes back to hinge fit-up, not hinge quality. If you need to know how to fit weldable hinges properly, the job starts long before the first tack. Hinge position, pin alignment, heat control and support of the leaf all matter just as much as the weld itself.
Weldable hinges are straightforward in principle, but poor preparation shows up quickly once the gate or door is hung under load. In fabrication shops and on site, the difference between a clean swing and a call-back is usually a few millimetres of set-out and a disciplined welding sequence.
How to fit weldable hinges without alignment problems
The first decision is hinge type and size. That depends on the weight of the gate or door, its width, the opening frequency and the environment it will work in. A light personnel gate and a heavy fabricated steel access gate do not need the same hinge body, pin diameter or number of hinges. If the application is exposed, corrosion protection and the ability to grease or maintain the hinge also matter.
Before you mark anything out, confirm that the frame or post is plumb and the gate leaf is square. Trying to fit weldable hinges to a twisted gate is a waste of time. You can align hinges perfectly and still end up with poor operation if the structure itself is out.
Support the gate in its final position with packers, wedges or stands. Set the gap at the hinge side and the closing side exactly as required for the finished job. On a typical steel gate, you need enough clearance to allow free movement after coating and enough tolerance for slight movement in service. Too tight, and paint build-up or minor distortion will cause binding. Too loose, and the finished gate looks poorly made.
Mark the hinge centres with care. Two hinges are standard for many gates, but once weight and height increase, a third hinge is often the safer option. The top hinge usually takes the greatest load in tension, while the bottom hinge stabilises the leaf. On heavier gates, hinge spacing should be maximised to spread the load and reduce stress through the frame.
Preparing the surfaces before you fit weldable hinges
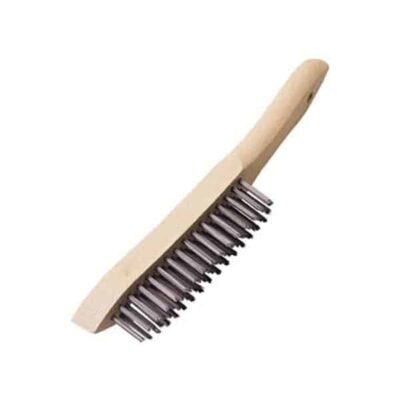
Clean metal is not optional. Remove mill scale, primer, zinc coating, rust and any contamination from the weld zones on both the hinge and the parent material. A bright, clean surface gives better fusion and a more predictable weld pool. It also helps you spot poor fit-up before heat goes in.
Check the hinge barrels and pins before fitting. They should rotate freely without excess play. If a hinge is damaged, bent or contaminated internally, replace it rather than trying to weld around the problem. Once installed, a faulty hinge is far more costly to remove than it is to reject at the bench.
At this stage, check whether the hinge should be welded fully assembled or separated, if the design allows it. Many fabricators prefer to tack with the hinge assembled so the pin keeps both halves in line, then control heat carefully to avoid tightening the hinge. Others use a jig or straight edge to maintain the centre line if the hinge parts are fitted separately. Either method can work, but the main requirement is that both hinge halves remain on the same axis.
A straight edge, laser line or length of precision bar can help here. If the hinge centres are even slightly out of line, the gate may still open, but it will wear quickly and put unnecessary stress into the welds and frame.
Setting out the hinge position
Offer the hinges into place while the gate is fully supported at the correct height. The usual approach is to position the top hinge first, then the bottom hinge, then confirm the gate sits correctly before tacking. On heavier fabrications, tack temporary braces across the gate if needed so it holds its shape during fitting.
Place each hinge so that the pivot point is where the gate needs it to be, not simply where the body sits neatly on the steel. This matters on gates opening past 90 degrees, on recessed frames and on any application where the leaf edge needs to clear a post, cladding or masonry return. A hinge fitted too far inboard can restrict opening or cause the gate edge to foul.
If you are fitting to hollow section, think about wall thickness. A heavy hinge welded onto thin box section may need reinforcement plates to spread the load. Without reinforcement, the hinge weld can be sound but the parent material can distort or fail over time.
Tacking and checking before final welding
Use small, controlled tacks first. One tack on each side of each hinge is usually enough for an initial check. Then remove supports gradually and test the swing. The gate should move freely, with consistent gaps and no visible lift, drop or bind through the arc.
This is the point to make corrections. If alignment is off, cut the tacks and reset. Do not try to pull a badly positioned hinge into line with more weld. That usually creates a gate that works poorly and looks strained.
When the movement is correct, add further tacks to secure the hinges more firmly and check again. On larger gates, it is worth opening and closing the leaf several times and checking that the latch side remains where it should. Small errors become obvious once the full weight transfers onto the hinges.
Welding sequence and heat control
The main risk when welding hinges is distortion from heat. Too much heat in one area can pull the hinge body, close the barrel tolerance or draw the gate out of line. The answer is a balanced welding sequence.
Do not run one long weld in a single pass around the hinge unless the specification and hinge design call for it. Short runs, alternating from one hinge to the other and from one side of the hinge to the opposite side, help spread heat. Allow cooling between passes where needed. On heavier sections, preheat may be appropriate depending on material grade and thickness, but that is application-specific rather than standard practice for every hinge fitting job.
Keep spatter out of the barrel and away from the pin. If required, protect the moving part during welding. After each weld stage, check that the hinge still turns freely. A problem caught early can sometimes be corrected before the weld sequence is complete.
Weld size should suit the hinge and parent material. Oversized fillets add heat and do not automatically improve performance. Undersized welds, on the other hand, reduce strength and service life. Match the weld to the load path, section thickness and duty of the gate.
Common mistakes when fitting weldable hinges
The most common error is poor hinge axis alignment. Even if the hinges look parallel by eye, a slight offset can cause stiffness or premature wear. The second is welding with the gate unsupported, which lets the structure settle during fit-up and leaves the hinges carrying the weight in the wrong position.
Another regular issue is ignoring finish thickness. Powder coating, galvanising and heavy paint systems all affect final clearance. What swings freely in bare steel may bind after finishing if the gaps were set too tight.
There is also the question of hinge count. Fabricators sometimes use two hinges because that is what they have always done, when the gate really calls for three. On long or high-use gates, the extra hinge can improve load distribution and long-term reliability.
Finally, do not overlook drainage and environment. External gates exposed to water and dirt need hinges suited to that service. A well-fitted hinge in the wrong specification will still fail early.
Final checks after you fit weldable hinges
Once fully welded and cooled, test the gate through its full travel. It should swing freely, sit level and maintain even gaps. Check the latch side height, check for any twist and confirm that stops, catches or locks line up without forcing.
Dress welds only if required by the job. Excessive grinding can weaken the weld or remove protective coating preparation. If the work is being galvanised, allow for finish build-up and venting requirements in the wider fabrication design.
Lubricate the hinges if the design requires it, then carry out a final inspection for weld quality, movement and appearance. For trade work, this last check is where the job is either signed off confidently or sent back for avoidable rework.
A weldable hinge is a simple component, but fitting it properly is a fabrication task, not just a welding task. Get the set-out right, support the work correctly, control heat and check movement at every stage. That approach saves time, protects finish quality and gives you a gate or door that works properly from day one.