







Blog
Choosing Belt Sanders for Metal Fabrication
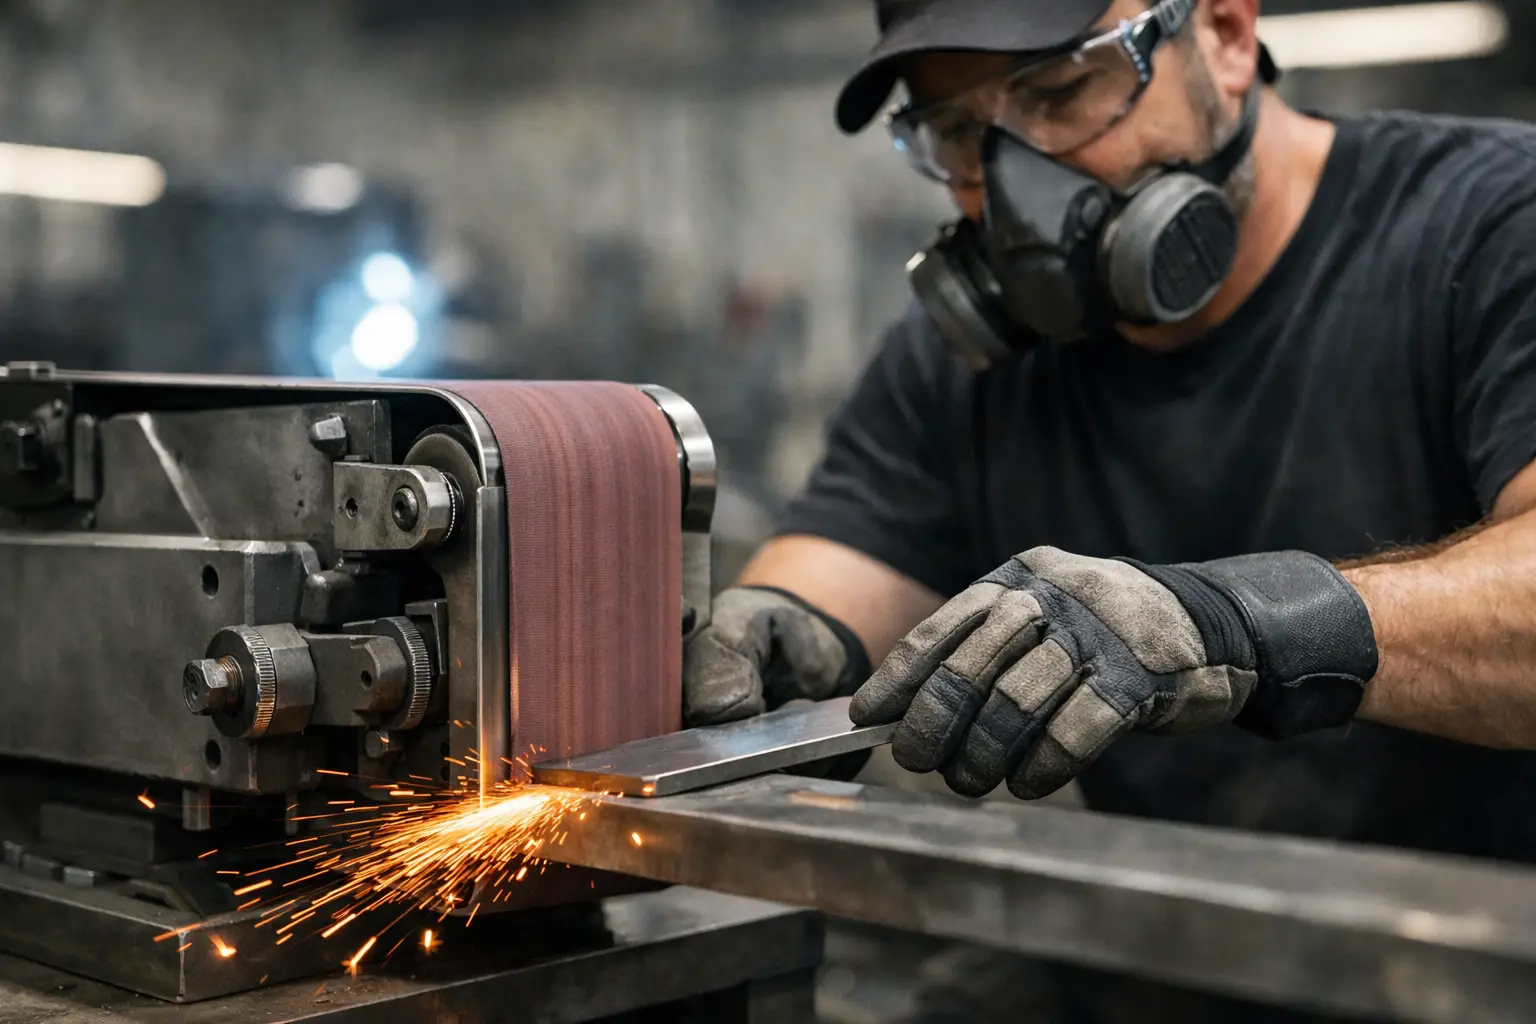
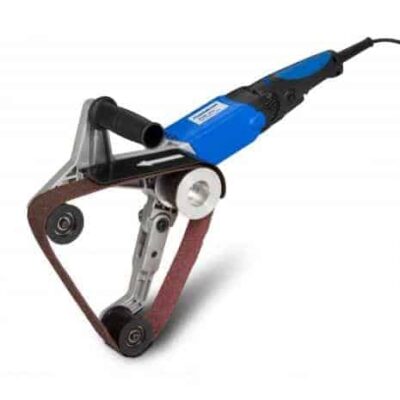
A belt sander can remove a sharp burr from a cut edge, blend a weld dressing pass or prepare steel for finishing in a fraction of the time taken by hand. That speed is useful only when the machine, abrasive belt and workholding suit the job. For fabrication shops, belt sanders are production tools, not general-purpose woodwork equipment with a different belt fitted.
The right choice depends on the material section, the volume of work, the finish required and whether the machine will be used mainly at a bench or moved between jobs. A light deburring station has different demands from a fabrication bay dressing heavy fillet welds all day.
What belt sanders do well in a metal workshop
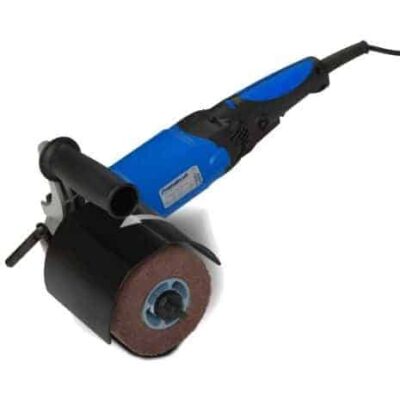
A belt sander uses a continuous abrasive belt running over drive and tracking rollers. Its long, flat contact area makes it particularly effective for straight edges, bar ends, external corners and controlled surface blending. Compared with a grinding disc, it can leave a more uniform linear finish and is less likely to cut a pronounced hollow into a broad flat face when used correctly.
Typical fabrication applications include removing saw burrs from box section, rounding sharp corners on brackets, cleaning mill scale from small areas, blending weld starts and stops, and refining the surface before painting, plating or polishing. With the appropriate attachment or platen arrangement, a belt machine can also be useful for radiusing edges and finishing profiles.
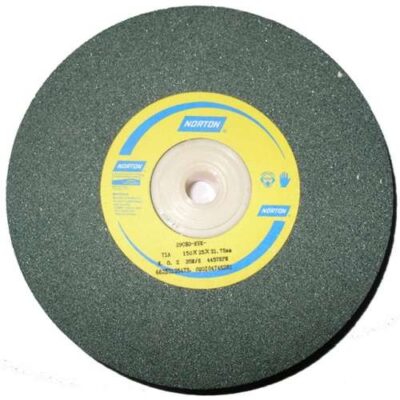
It is not the answer to every grinding task. Heavy weld reinforcement, deep defects and aggressive stock removal often call for a grinder, flap disc or more substantial linishing machine first. A belt sander is strongest where control and repeatable finish matter as much as removal rate.
Select belt sanders by workload, not just belt width
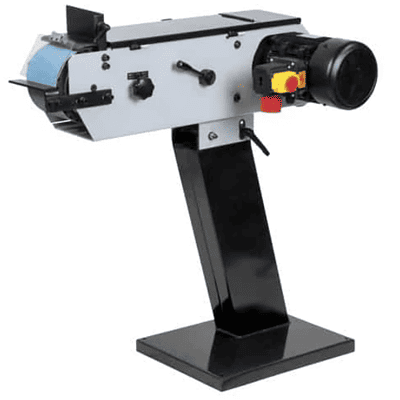
Belt width is a useful starting point, but it does not define the whole machine. Narrow portable units are practical for site work, awkward assemblies and localised dressing. Wider bench-mounted machines provide greater stability, a larger working area and better repeatability for regular fabrication work.
A 75 mm belt is a common all-round workshop size. It is wide enough for general edge work and manageable on compact machines. A 100 mm belt gives more support on larger flat surfaces and can improve productivity where material is repeatedly presented to the platen. Larger industrial linishers are more appropriate for sustained production, longer workpieces and heavier sections.
Look beyond width at belt length. Longer belts generally run cooler, offer more abrasive surface and can be better suited to prolonged use. They also affect the available working length against the platen. For a busy fabrication shop, belt availability matters as much as nominal dimensions. Standard sizes that can be held in several grit grades reduce downtime and make it easier to keep each machine assigned to a sensible task.
Motor output must match the expected pressure and duty cycle. An underpowered machine loses belt speed as the operator leans into the work, generating heat rather than productive cutting. For occasional light deburring this may be acceptable. For daily steelwork, select a machine with sufficient power to maintain speed under a controlled working load, without encouraging excessive force from the operator.
Three-phase bench machines are often the sensible choice for fixed, high-use stations where supply is available. They are built for steadier industrial duty and can provide a more consistent feel under load. A single-phase machine may be entirely suitable for smaller workshops, maintenance departments or lower-throughput work, provided its duty rating and electrical protection are understood.
Speed, heat and material type
High belt speed is useful for removing scale and dressing mild steel efficiently, but speed creates heat. Heat can discolour stainless steel, load an abrasive prematurely and alter the surface condition around a weld. It is also a concern on thin sheet, where distortion can occur before the operator notices the temperature rise.
Variable-speed belt sanders offer a worthwhile advantage when one machine must handle mild steel, stainless steel, aluminium and finishing work. Lower speeds can improve control on stainless and aluminium, particularly with a belt selected to resist loading. Fixed-speed equipment remains effective where the application is consistent, but it requires greater discipline in belt choice and working pressure.
Avoid treating stainless as simply mild steel with a finer abrasive. Keep abrasives, work supports and contact surfaces free from carbon steel contamination where corrosion resistance and appearance are important. A dedicated belt or machine for stainless finishing can prevent costly rework later.
Abrasive belt choice controls the result
The machine provides the power, but the abrasive belt determines the cut, finish and operating cost. Using a worn or unsuitable belt wastes time, overheats the work and encourages operators to apply too much pressure.
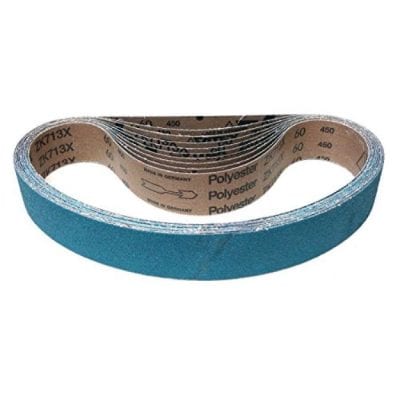
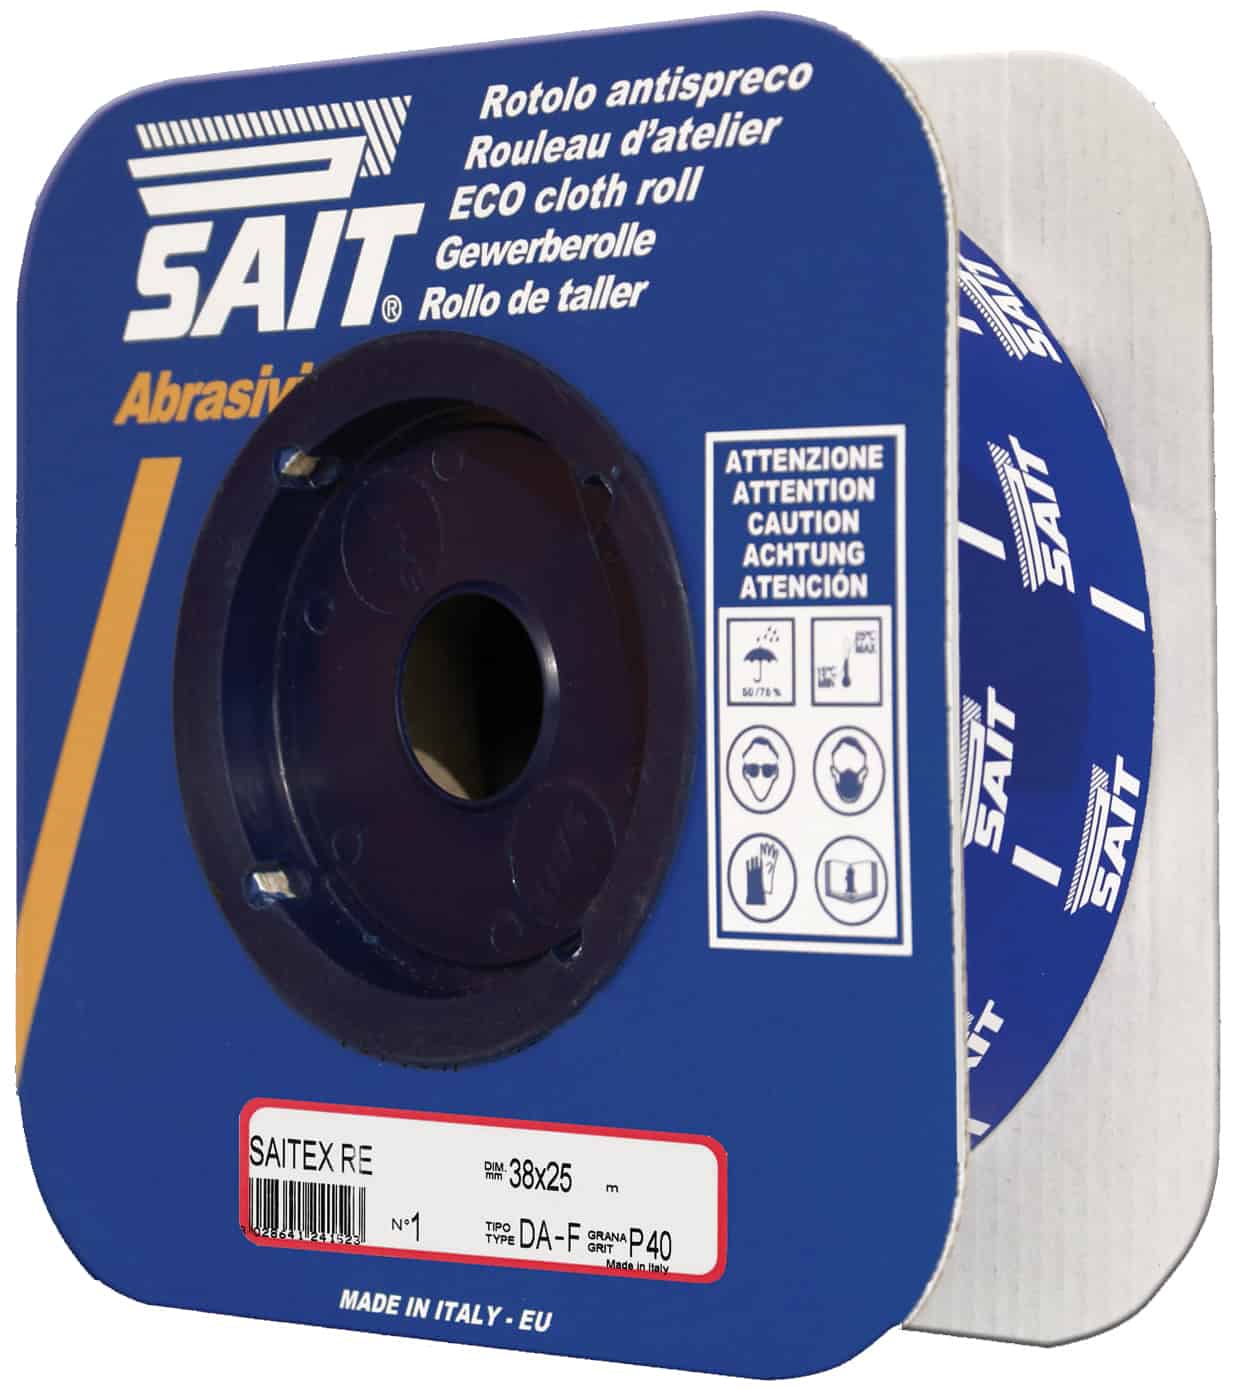
Aluminium oxide belts are a practical general-purpose option for many steelwork tasks, especially lighter deburring and finishing. Zirconia alumina belts are better suited to more demanding stock removal because the abrasive fractures to expose fresh cutting edges under pressure. Ceramic belts are often the premium choice for high-removal applications, hard materials and sustained workshop use. Their initial cost is higher, but they can be economical where belt changes and labour time are significant.
Grit selection should follow the required finish, not habit. Coarse belts around 36 to 60 grit remove scale, dress welds and shape edges quickly. Medium grits, typically 80 to 120, are useful for general deburring and preparing surfaces for coating. Fine grits are for refinement, not for correcting poor earlier preparation. Moving directly from a very coarse belt to a fine finish often leaves deep scratch lines visible after paint or polishing.
For aluminium, use an abrasive designed to minimise loading and avoid allowing swarf to build up on the belt. Loaded belts run hot and can mark the work. Stainless steel benefits from sharp, clean abrasives and controlled pressure. If a belt is glazing rather than cutting, change it. Trying to extend its life usually increases labour cost and worsens the finish.
Set up the machine for safe, repeatable work
A good belt sander becomes unreliable when tracking, guards and support surfaces are neglected. Check belt tracking after every belt change and allow the machine to run briefly before presenting work. A belt walking towards the edge of a roller can be damaged quickly and may create an avoidable safety risk.
The work rest should be adjusted close to the belt, stable and square where square edges are required. Excessive clearance can allow small components to catch between the belt and rest. For short parts, use a suitable jig, clamp or holding method rather than relying on fingertips close to the abrasive. Do not attempt to sand a component that is too hot to control safely.
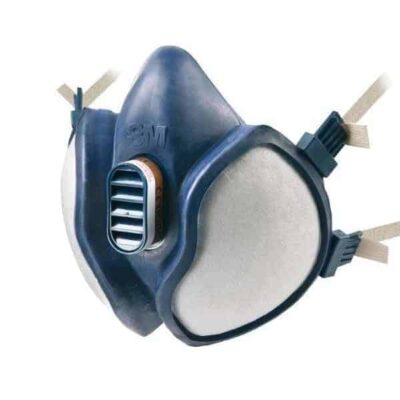
Spark direction and extraction require the same attention as the abrasive process. Grinding dust and sparks must be controlled, especially around welding bays, paint products, gas cylinders and combustible materials. A machine intended for metalwork should be connected to suitable extraction where required, with ducting and collection arrangements appropriate to metal particulate. Never assume a basic woodworking dust system is suitable for hot sparks or metal dust.
Operators need eye protection as a minimum, with face protection where the task and risk assessment require it. Hearing protection is often justified in a busy fabrication environment. Gloves can protect against sharp workpieces, but they must be chosen carefully: loose gloves near moving abrasive equipment create an entanglement risk. Close-fitting work gloves and sound handling practice are safer than oversized general gloves.
Build a practical finishing workflow
The most efficient workshops avoid asking one belt to do every stage. Start with the process that removes weld bulk or heavy scale efficiently, then use the belt sander to establish the edge profile and surface direction. Follow with a finer belt only when the specified coating or visible finish requires it.
For repeated parts, set a stop, guide or simple fixture to control presentation. This improves consistency across bracket batches and reduces the chance of removing too much material from one edge. It also lets an experienced operator work at a sustainable pace instead of correcting variations by eye on every component.
Inspection should be built into the workflow. Check for remaining burrs, undercut edges, embedded contamination and heat tint before parts move to paint, galvanising or assembly. A clean-looking surface is not automatically ready for the next process.
ProWeld customers working with regular fabrication volumes should treat abrasive selection and machine capacity as part of the production plan. The lowest-cost belt or smallest machine is rarely the lowest-cost option once changeovers, rework and lost time are included.
Choose a belt sander that matches the work you actually put through it, keep the right abrasives at the station and replace belts while they are still cutting cleanly. That discipline produces safer handling, cleaner finished parts and fewer delays at the point where fabrication should be moving forward.